Feb. 25, 2021, 9:04 a.m.
Bike Fitting Cleat position
Bicycle Setup
ProBikeFit.com.au Gary Land – “Fitting a bicycles, is setting the rider in an efficient comfortable positioning on their Bicycle so they can achieve their personal goals”.
Bikefit.com Paul Swift – “Fitting a road bicycle comes down to the contact points (connection points) between the cyclist and their bicycle”.
Retul.com Todd Carver “The idea is to find that perfect balance between a position that a rider can comfortably maintain for a six-hour Tour De France stage, while also remaining physiologically and aerodynamically efficient enough to do their job.”
“The basis for all fitting system looks at the rider contact points with their bicycle, the position of these point will vary with different styles of cycling although the underlaying fundamental contact points being the basis of a fitting system remains the same”. Gary Land
Various Cycling Disciplines
• Road
• Track
• Time Trial
• Triathlon
• Cyclocross
• Gravel
• MTB
BMX an other styles not mentioned here.
As previously mentioned, the (cyclist’s) body contacts the bicycle at five points- hands, pelvis, and feet. The location of the feet, pelvis and hands dramatically impacts comfort and efficiency on the bicycle. There are several pieces of equipment on a bicycle that are used or adjusted to find your ideal position on your bike:
1. Pelvis – saddle selection, height, fore/aft and tilt and sometimes cycling shorts.
2. Hands – handle bars, brake levers and hoods which are connected via a stem.
3. Feet – pedals, cleats, cycling shoes and occasionally crank arm length.
Each of these contact points are set up based on the rider requirements and rider disciplines / rider limitations based on flexibility an or injury I will try to give users an understanding of each of these contact points at help give the user an understanding of how to set up their bicycles.
The Foot pedal interface – After reading about this subject on various bicycle related web pages I feel as lost as the person of the street with little understanding of where to position the cleat on the shoe and how to ensure that they are setup both parallel and with equal amount of foot off the pedal. To the best of my knowledge the mainstream fitting industry uses the following as a basis for determining the starting position.
Draw a line from your 1st to your 5th Metatarsal once you have this move in along that line to the 2nd Metatarsal (2nd toe) then measure to the longest part of your toes. If you are unable to measure this position the following can be used as a reference.
Shoe size 42-43EU 70mm, size 44-45EU 75mm 46-47EU 80mm
From these number I add 3,4 and 5mm to allow for limited flexibility and for helping those who wish to run off the Bike, Triathlon etc.
Once you have determined this measurement the rider needs to determine where the foot (toes) ends in the Toe Box of the shoe, it is often slightly back from the tip of the shoe as the user has purchased a shoe based on width rather than length.
Riders can NOT rely on the markings that manufacturers place on the sole of the shoes as they are often slightly off which would have a significant effect on their pedalling. It is worth noting at this time that the cleat position forwards and rear also have an impact on the Ankle movement during the pedal rotation, there become as point as we move the clear more forwards that causes the user to lose stability and leverage.
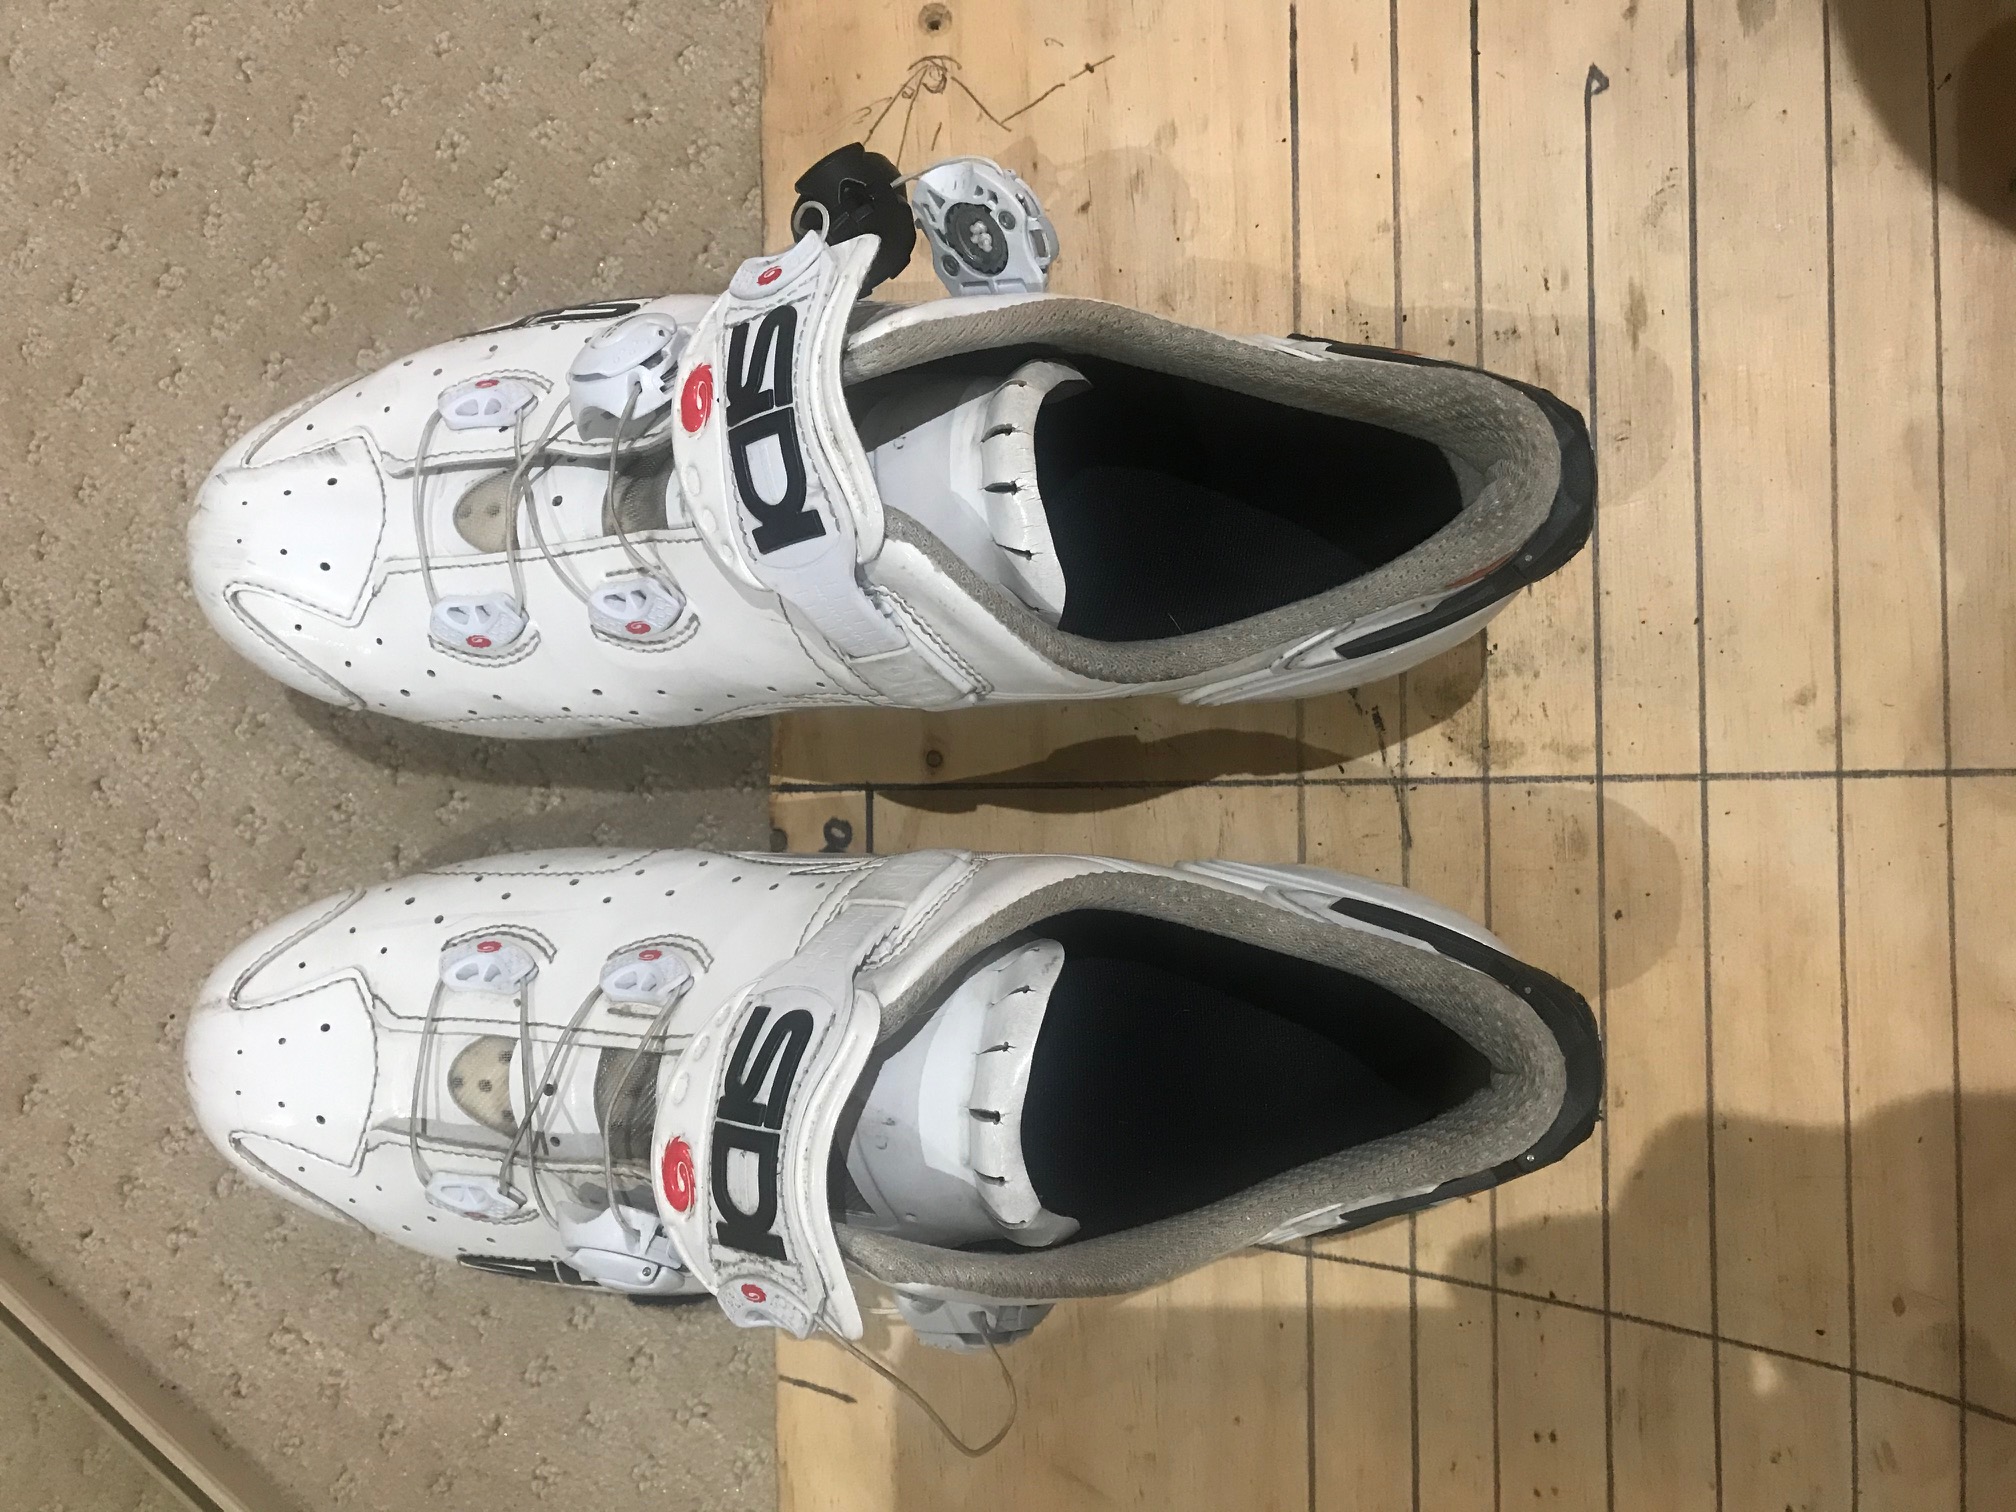
I have found that the best way to set up cleats is to have a simple piece of timber that the user is able to then draw a 90deg line of one edge, this line is then used as a reference for setting the cleats and shoes parallel to each other.
The process is made easier if there are a series of lines then drawn across the board at 5mm intervals, these lines are then an additional guide for the amount of foot off the pedal.